Line Chart Widget
Charts are an effective way to visualize your data and discover insights. The Line Chart widget supports color customization, applying Formula, and changing the line shape (step or smooth), among other options.
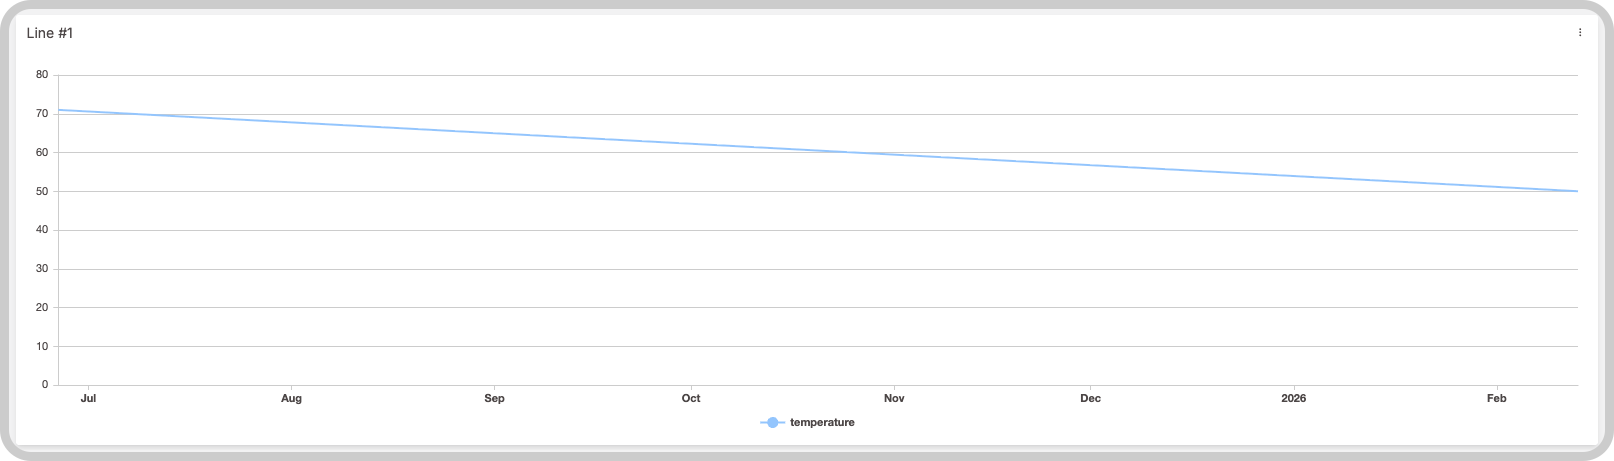
This widget also accepts features like metadata and groups, which can be set in your variable data.
On this page
- 'Data Sources' Field
- Composing X-axis and Y-axis
- Filtering data
- Increasing performance
- Forecast
- Time bands and value bands
1. 'Data Sources' Field
This field allows you to set the device and variable that will be used by the widget.
1.1 'Data Sources' for Normal Dashboards
From the option Data Sources on the right menu, select one device from your list of devices and the variable that contains the data.
1.2 'Data Sources' for Blueprint Dashboards
From the option Data Sources on the right menu, add the Blueprint device and input the name of the variable that contains the information. When using a Blueprint dashboard, the field Variable will list variables to be picked using the currently selected blueprint device.
2. Composing X-axis and Y-axis
In the line chart widget, it is possible to customize how the data will be displayed in the horizontal and vertical axis.
2.1 X-axis
By default, the X‑axis of the chart will be the time of the values, and you can customize the range of time. If you need to group your data through the X‑axis even if they don't have the same time, select a variable that contains the group; all data will then be grouped by groups.
Data is ordered by time ascending, but it is possible to change it to groups.
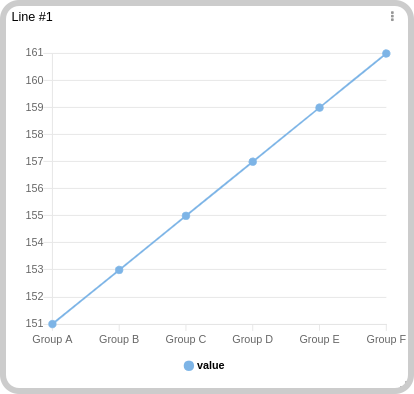
It is also possible to define the X‑axis time range dynamically, using another variable data. The variable data should look like the following payload:
{
  "variable": "time_range",
  "value": "Any value",
  "metadata": {
    "start_date": "2021-06-17T00:00:00.000Z",
    "end_date": "2021-06-18T00:00:00.000Z"
  }
}
The start_date specifies the start of the range, and the end_date specifies the end of the range. In this case, the date and format should be in the ISO 8601 format.
2.2 Y-axis
In the vertical axis, it is possible to customize the scaling behavior: apply metric prefixes and abbreviations, change the step value (represents the difference between each tick), and more. The Y‑axis will automatically find the best scale for your data; it is not necessary to customize it unless you want to do so.
3. Filtering data
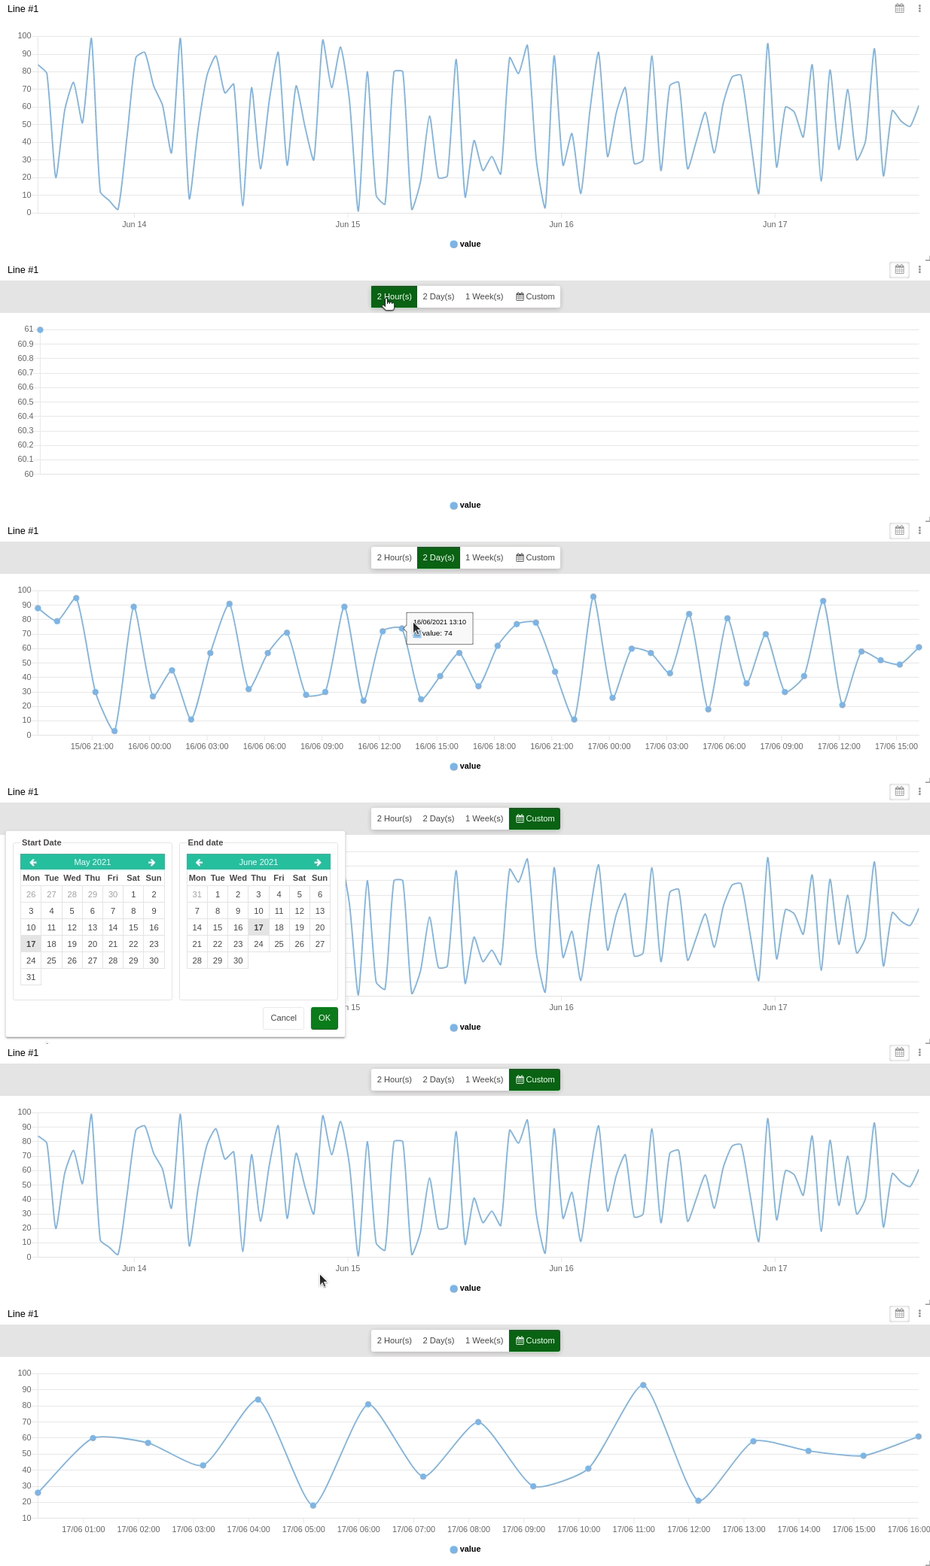
It is possible to pre‑set some date filters to be displayed, and these filters can be in minutes, hours, days, weeks, months, or custom by choosing a date in the calendar.
4. Increasing performance
For charts with a large number of data points, enable the Aggregate feature to improve widget performance and make the data easier to visualize. Learn more about the Aggregate feature.
5. Forecast
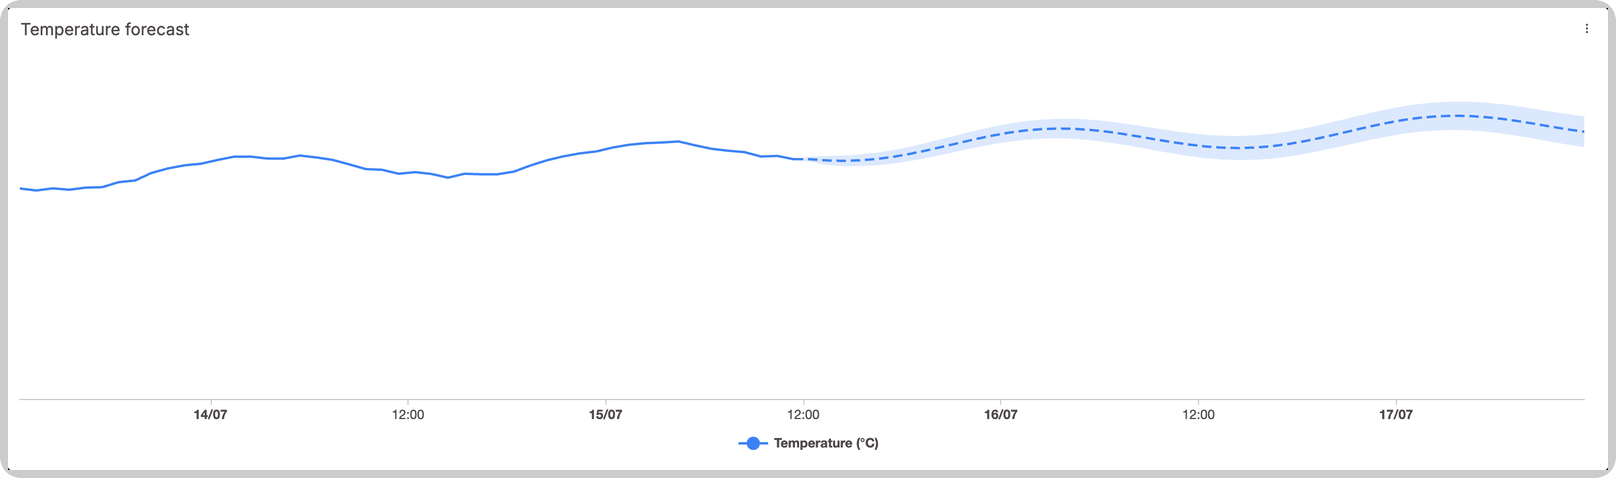
Each data source in a Line Chart can overlay a forecast: a dashed projection that continues from the last real data point, plus a shaded confidence band that widens with the forecast horizon. The forecast values come from a second variable, typically written by an Analysis script that runs your forecasting model.
Configuring the forecast
In the widget's edit page, open the data source's options and fill in the Forecast group:
- Forecast device and Forecast variable: where the forecast records live. On Blueprint dashboards, select the Blueprint device association instead.
- Points: how many forecast records to read. Defaults to the widget's max points.
- Line style (dashed or dotted) and Dash gap: the projection line's appearance.
- Band opacity: the confidence band's fill opacity.
- Formula: transforms the forecast values, useful when the base variable also has a Formula applied. The formula transforms the projection and its confidence bounds together, so the dashed line continues the solid line without a jump at the seam.
Forecast data format
Each record holds one future point. The projection center goes in value, and the confidence bounds go in the record's metadata:
{
  "variable": "forecast_temperature",
  "value": 27.31,
  "unit": "°C",
  "time": "2026-07-10T18:05:00.000Z",
  "metadata": {
    "lower": 26.42,
    "upper": 28.2
  }
}
timemust be in the future relative to the base variable's data: points at or before the base variable's latest record are not drawn. Because these records carry future timestamps (immutable storage rejects far-future data), the device holding them must use a mutable storage type, or a hybrid device with the forecast variable routed to its mutable side.metadata.lowerandmetadata.upperare absolute values (not offsets) and both must be present for the confidence band to draw at that point. Records without them still draw the projection line.- The projection line appears in the chart's hover tooltip like any other series; the confidence band does not.
6. Time bands and value bands
Line Charts can also shade time windows (X-axis) and value zones (Y-axis) driven by variable data, with optional recoloring of the series inside them. See Time Bands & Value Bands.