Sigfox - Downlink
TagoIO is ready to receive data from and send data to Sigfox devices. The downlink is used to send data back to the device every time it checks in — the data to be sent should be prepared prior to that check‑in. This article explains how to set up a downlink.
It's essential to carefully follow all the steps outlined in the Sigfox network documentation in order to send downlinks. The completion of Step D is crucial so that TagoIO can accurately authenticate your downlink.
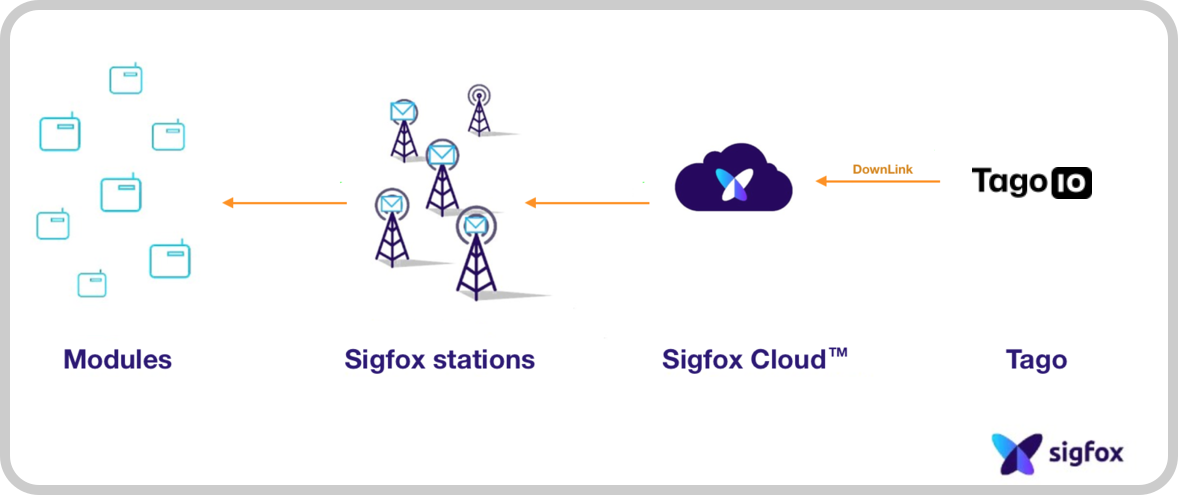
Downlink Diagram
Information about uplink can be found in this tutorial.
Downlink Setup
The downlink sends responses from TagoIO to Sigfox, ensuring the data transition works correctly. The downlink configuration is separated into two parts:
- TagoIO setup
- Sigfox setup using the Sigfox Portal
Further setup steps for each part are covered below.
1. TagoIO setup
-
Find your device that you just created by clicking on the Device (left menu), go to it, and click on the tab Configuration parameters;
-
Create a parameter for your device:
- Key – type
downlinkData - Value – the message you want to send to your Sigfox device (must have 8 bytes)
- Click Save
Example of 8 bytes
downlinkData:00000000ada1b2c3 - Key – type
-
Create an Authorization and use it in the Sigfox setup later.
- If you already have created an authorization, you can just copy it.
The Authorization should be generated by TagoIO by accessing the Service Authorization page; no additional parameters are needed.
2. Sigfox setup
Go to the Sigfox portal and perform the following steps:
- Click on Device Type;
- After clicking Device type, the list of your devices will appear in Sigfox, choose one;
- Click in the Callback button;
- Click the New button;
- Select the option Custom callback;
- Configure the downlink.
CALLBACK CONFIGURATION
-
Type:
DATA&BIDIR -
Channel:
URL -
URL pattern:
https://sigfox.middleware.tago.io/downlink -
Use HTTP Method:
POST -
Send SNI: Check the box "Send SNI".
-
Headers: Add two rows in the Headers section inside the header and value fields:
Header Value device {device}(Required)authorization your_secret_code_here(authorization generated by TagoIO) -
Content‑type:
application/json -
Body: Copy and paste the JSON text below into the body field. This JSON will take care of the parse to prepare the data coming from your Sigfox module to TagoIO.
[
  {
    "variable": "device",
    "value": "{device}",
    "group": "{time}"
  },
  {
    "variable": "data",
    "value": "{data}",
    "group": "{time}"
  },
  {
    "variable": "seqNumber",
    "value": "{seqNumber}",
    "group": "{time}"
  }
]
Your downlink integration is completed.
You can also send data from your Dashboard using the Input Form widget. A script to perform a write in the parameter tab must be created using the Analysis.